

Environments
Repositories
Promote/Publish
Install/Update
Managing Teams
Launch Buttons
Promotions
Tagging
Settings
min
Creating Environments
Overview
An Environment in Solsta represents a deployable state of your Product — like development, staging, or production.
Each Environment contains:
Note: Environments let teams install, update, and roll back specific builds of their projects with version control and tagging.
- One or more Repositories (sets of files or assets).
- Snapshots of release combinations.
- Delta update paths (for optimized updates).
Creating an Environment
Note: Only Admin-level users (Organization, Product, or Environment Admins) can create environments.
Steps to Create
- Log in to the Solsta Desktop Application using an Admin account.
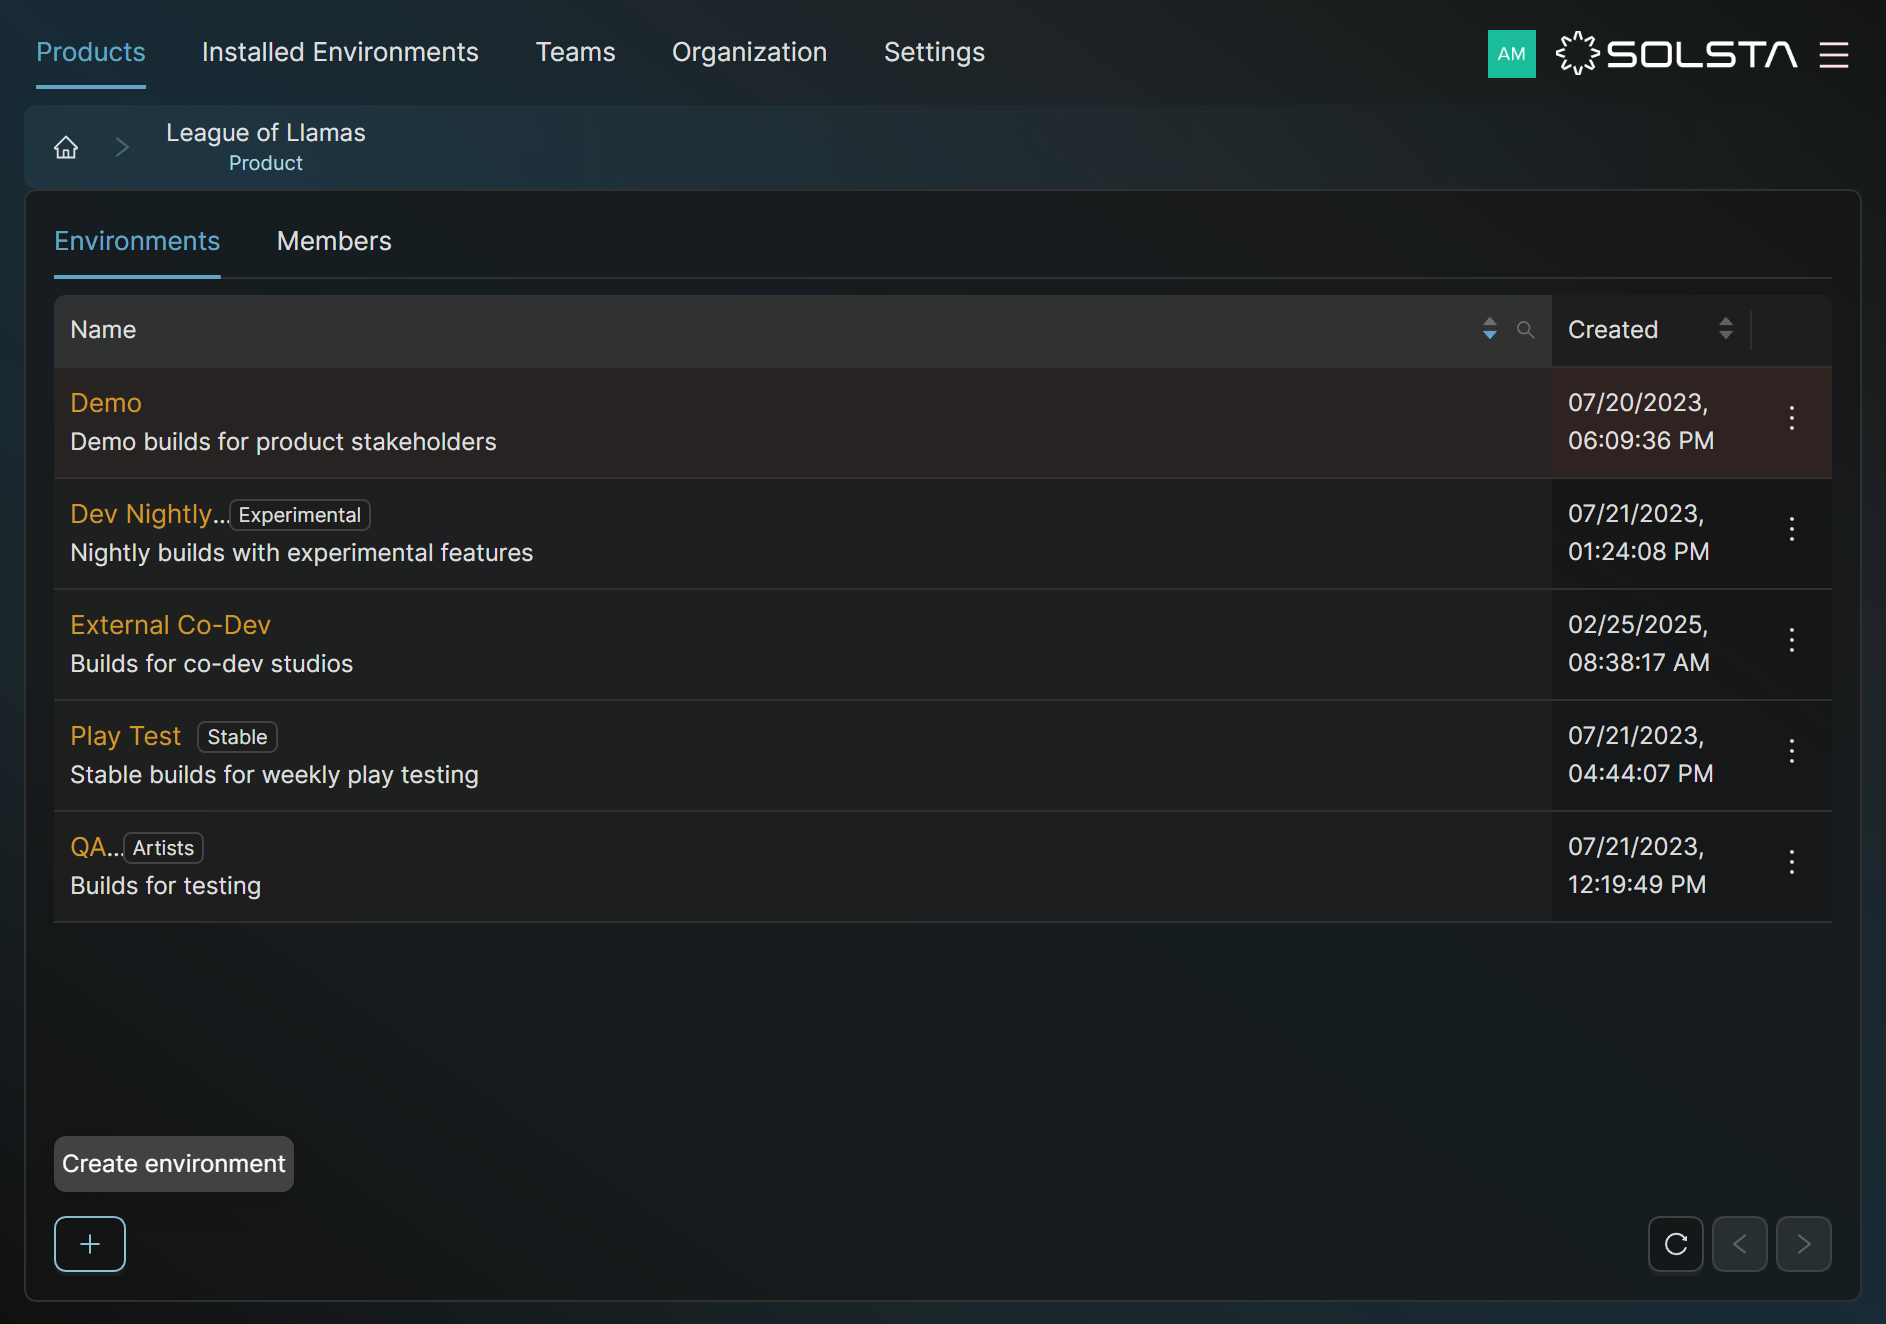
- Navigate to your Product → open the Environments tab.
- Click Create Environment (bottom left corner).
- Fill in the following fields:
- Name (required): Friendly name, e.g., “Dev,” “QA,” or “Production.”
- Description (optional): Context for users.
- Source Location: Select a server or storage bucket (if multiple available).
- Update Path Count: Number of delta update paths Solsta should automatically create between versions.
- Click OK to create the environment.
Block-Level Differencing: Tracks and processes only changed data blocks instead of whole files, improving efficiency. Continues even when Deltas are disabled.
DOs
DONTs
Pro Tips
The Update Path Count controls how Solsta generates delta updates. Setting this to 0 disables deltas.