

Google SSO
Associate Google Workspace Groups with Solsta Teams
Use your existing Google Workspace groups to auto-enroll members into Solsta Teams. Members of that Google Group will automatically appear in the corresponding Solsta Team upon SSO login, inheriting all team-level entitlements.
Requirements:
Before you begin, please ensure:
- You have Super Admin rights to manage Groups and App Access
- Solsta is registered as a custom SAML app in your Google Admin Console. Reference: Set up your own custom SAML app
- Your organization’s SSO integration with Solsta is enabled. If this hasn’t been set up for your organization, please open a support ticket to initiate the process.
- You have the Organization Admin role in Solsta
Redirect URI:
Use this URI when you register the Solsta App in Google Workspace:
https://snxd.auth0.com/login/callback
Key Concepts & Sync Behavior
To ensure a smooth deployment, administrators should note the following behavior regarding user visibility and provisioning:
- Just-In-Time (JIT) Provisioning: Solsta uses JIT provisioning. This means a user will not appear in the Solsta team list until they have successfully launched and logged into the Solsta desktop client.
- No Invites Required: When using the Google Workspace synchronization, you do not need to send manual email invites. The Google group membership acts as the authorization.
- The "First Launch" Sequence:
- Admin maps the Google Workspace group to a Solsta Team
- Admin notifies users they are cleared to log in
- User launches the Solsta client and authenticates via SSO
- The user’s record and team membership are then created and become visible in the Solsta UI for organization admins
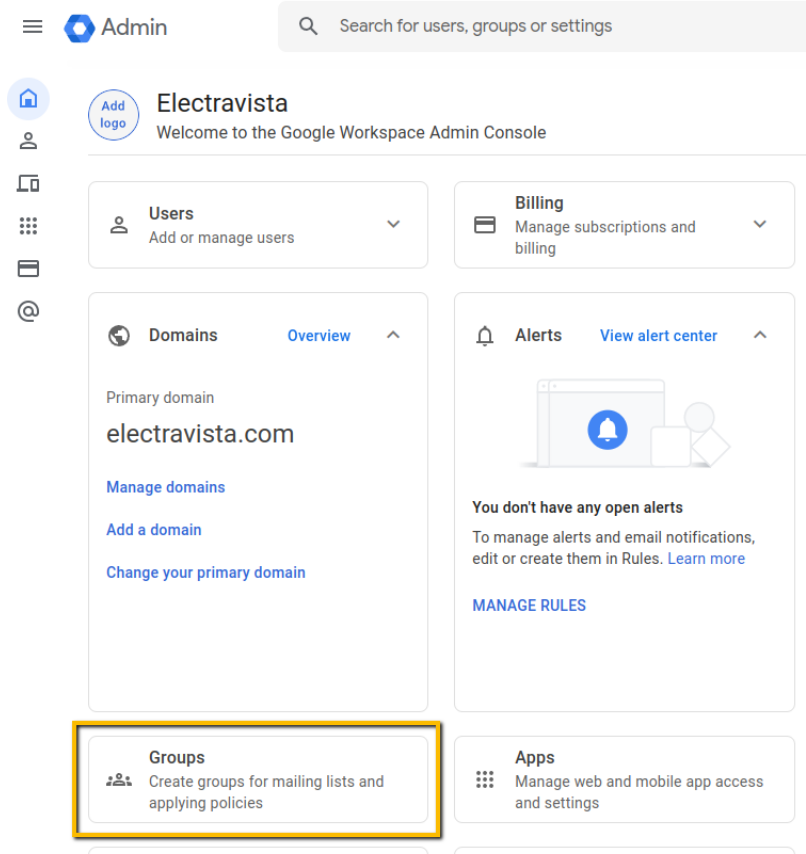
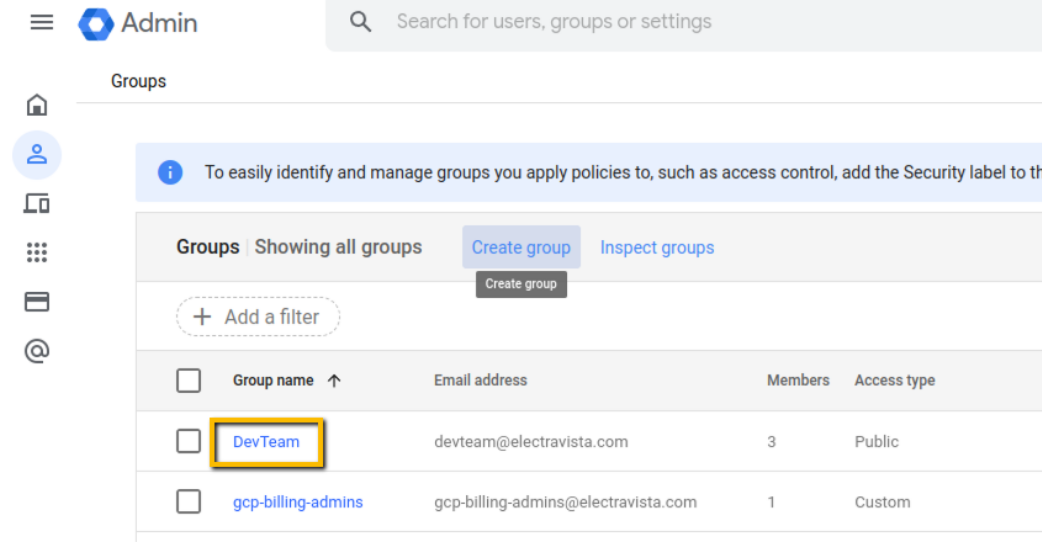
Obtain Group Name from Google Workspace
Log in to Google Admin then use the following steps to create a new Group, or link an existing group to your Solsta app.
- Go to Groups
- Click on Create group
- Navigate to the Apps section of Google Admin
- Click on Web and mobile apps
- Click on your Solsta app, then expand the Attribute mapping section
- Add the group you created to the Google groups section using the attributes listed below
Note: Go through the Group creation wizard and finish creating your Group. The name you choose for your Group will be the value you’ll use when connecting it to a Team in Solsta in the following steps. In the images below, that value would be DevTeam. Depending on your configuration, the value may also be DevTeam@yourdomain.com.


Optional - Restrict Solsta Access to Specific Groups
You can limit which Google Groups are exposed to Solsta. See About group membership mapping
Connect SSO Group to Solsta Team
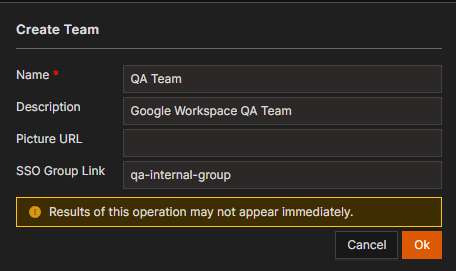
Now that your group is configured with the Solsta app, it's time to associate the Group to a Team in Solsta.
- Log in to Solsta as an Organization Admin
- From the navigation pane, click on Teams
- Click on the Create Team button on the top right
- Fill out the Name field and (optional) Description and Picture URL fields
- Paste the Group Name or ID into the SSO Group Link field
- Click Ok
Note: An SSO Group can only be linked to a team when that team is initially created. You are not able to edit an existing team in Solsta to connect it to an SSO group. You can always delete existing groups and create new ones in order to link a new group. The name and description of existing teams can be edited by clicking the Edit button from the Actions column of the Team screen
Verify the Sync
Because users appear only after their first log in, use the following steps to verify the connection:
- Confirm the SSO Group Link name in Solsta matches the group name in the Google Workspace portal
- Ask a "pilot" user from the group to launch the Solsta client and log in
- Refresh the Solsta Admin UI (refresh button or navigating away and back to the Team page). The pilot user should now appear within the designated Team.

Result
Once the team sync is verified, the setup is live. Instruct the rest of the team to download and launch the Solsta client.
When any member of that workspace group signs in through SSO, they are automatically added to the linked Solsta Team and granted the same entitlements.