

Environments
Repositories
Promote/Publish
Teams
Launch Buttons
Promotions
Tagging
CLI Guide
2
min
Promoting Build Releases
Overview:
You can promote builds in two places:
- The Releases tab — promotes a single release.
- The History tab — promotes a snapshot (a full set of releases across repositories).
Both methods move content from one environment to another, but what they include — and when you’d use them — is different.
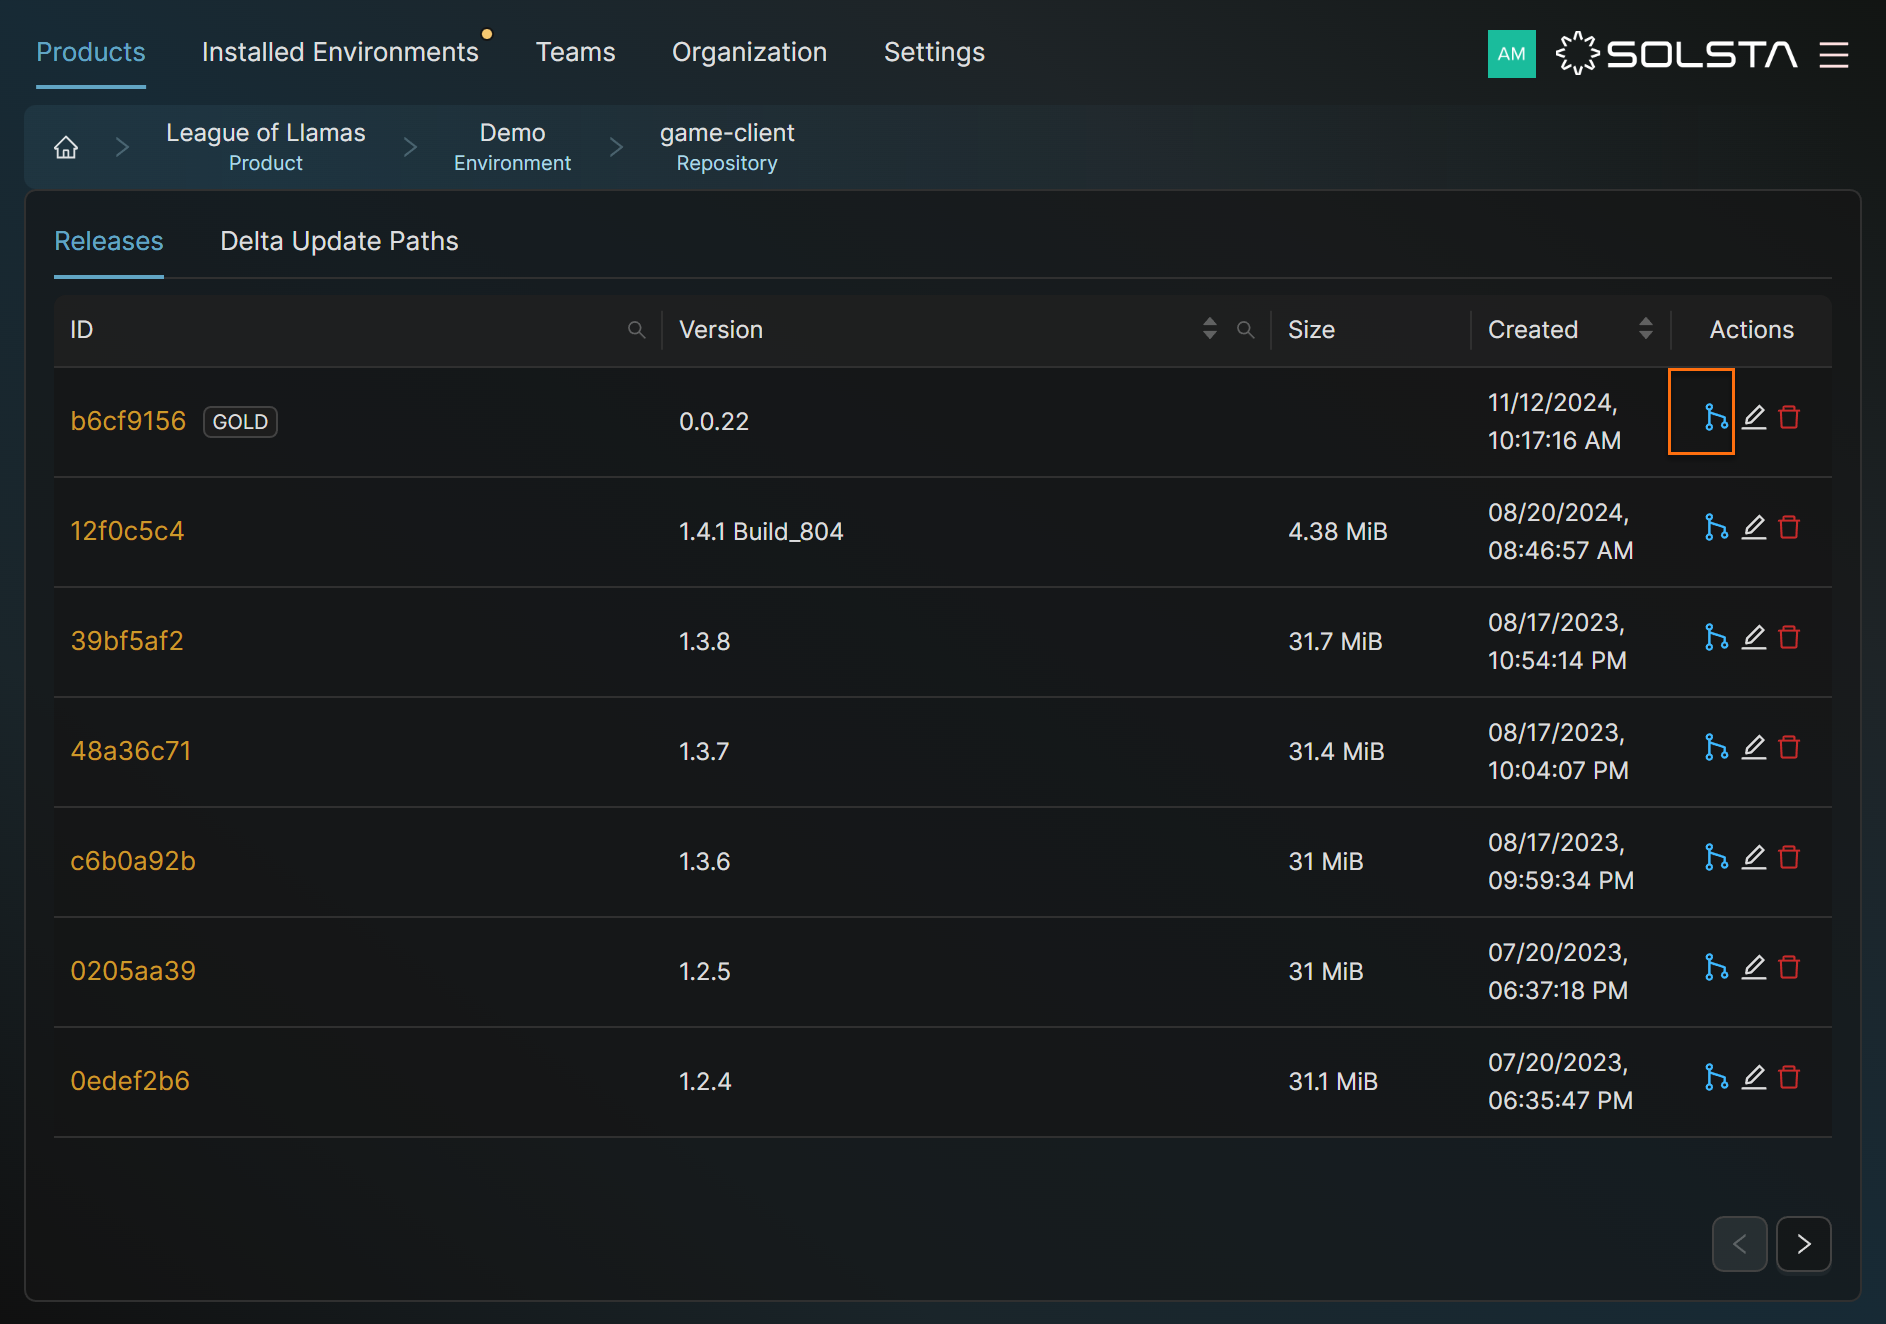
Promote from the Releases Tab (Single Release) Does not Include Launch Buttons
- Open the Solsta Desktop App.
- Go to your Product.
- Click the Environment that contains the release.
- Under that environment, open the Repository.
- Go to the Releases tab.
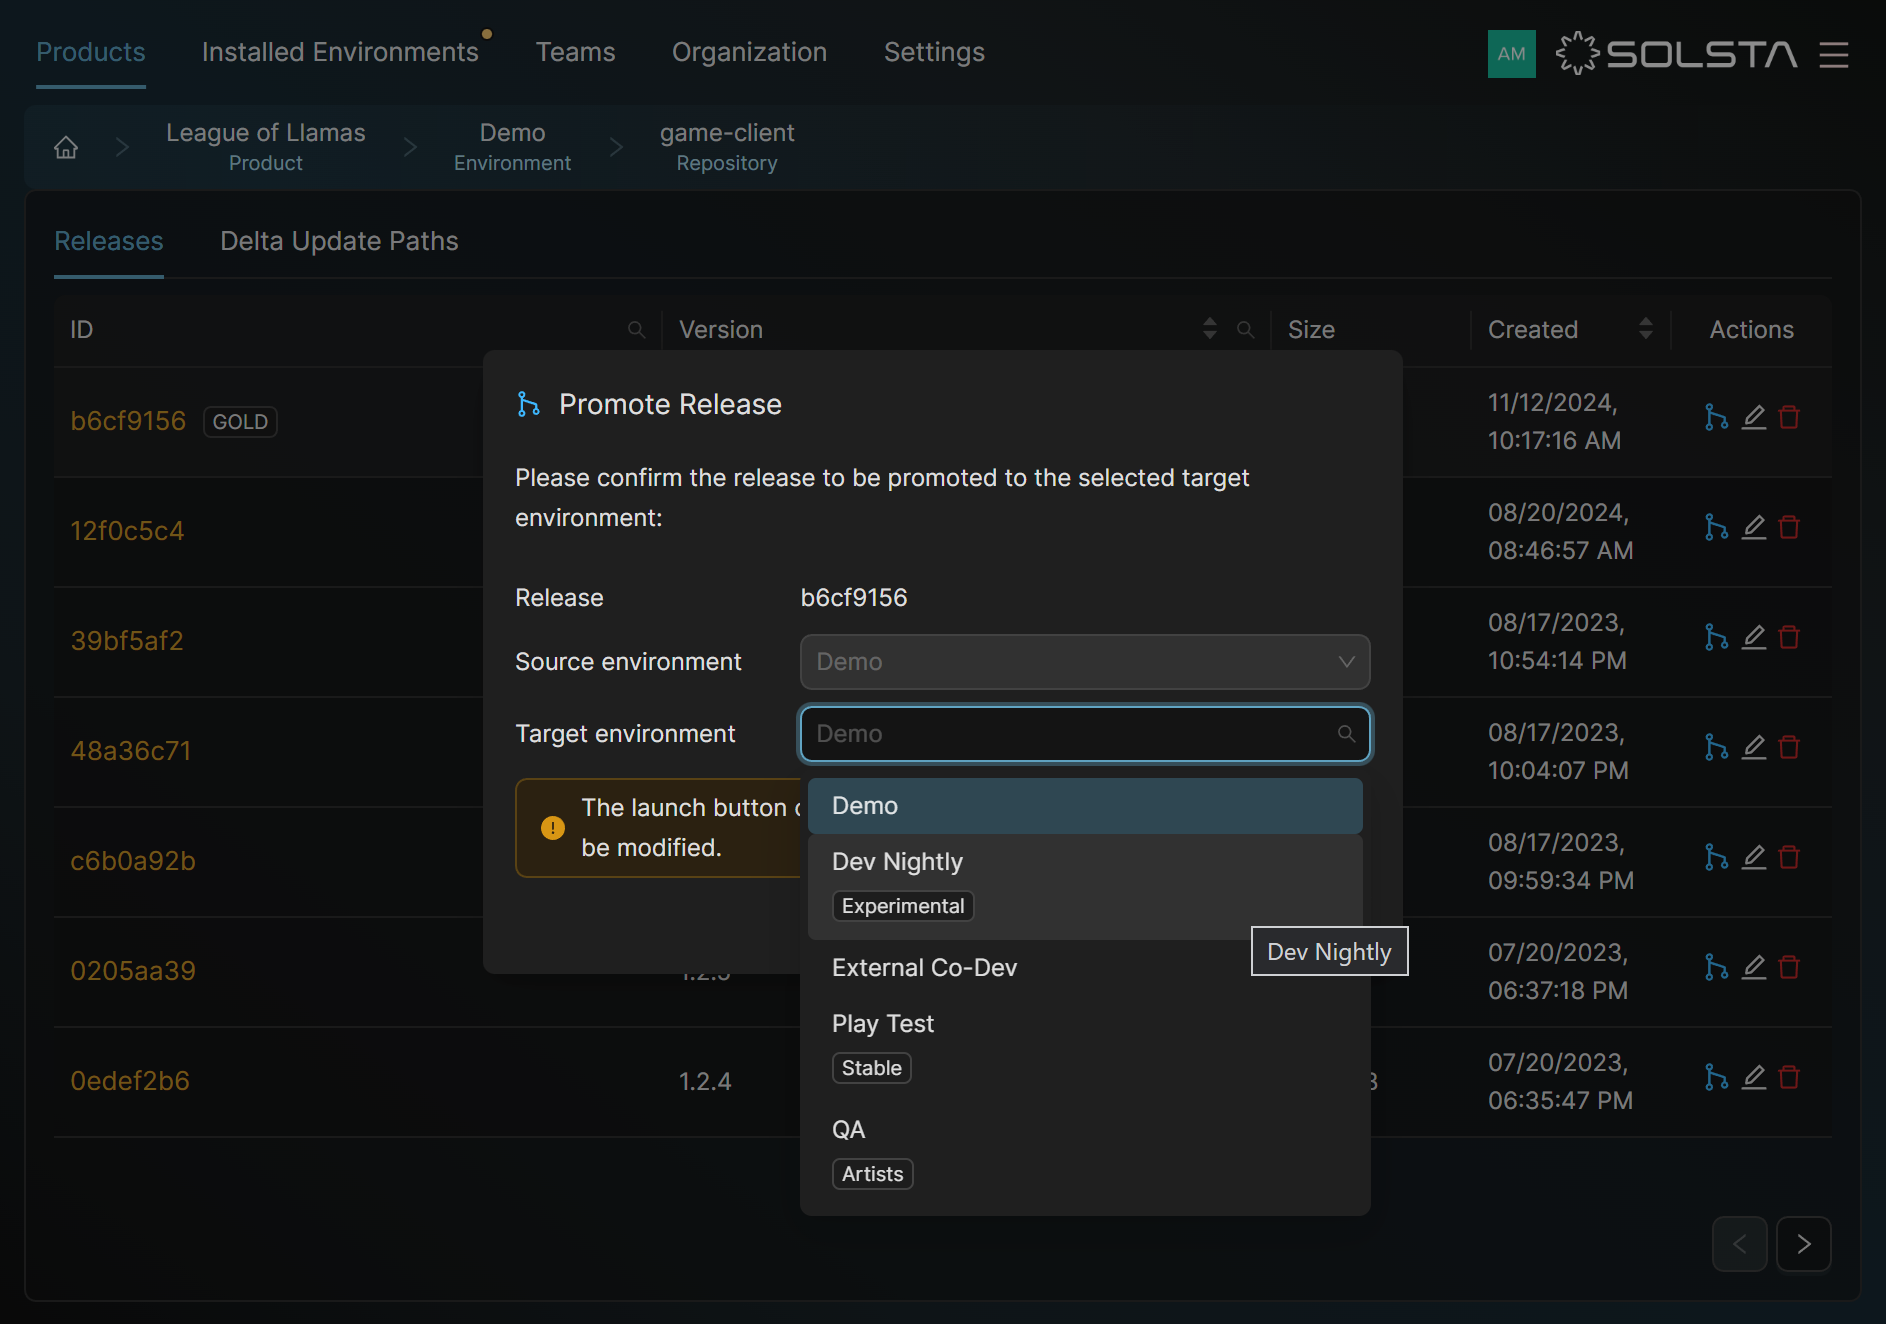
- In the Actions column, click Promote Release.
- Choose the target environment and confirm.
➡️ Use this for promoting one release or component (like a client-only update).
Promote from the History Tab (Snapshot) Including Launch Buttons
- Open the Solsta Desktop App.
- Go to your Product.
- Click the Environment you want to promote from.
- Open the History tab.
- Click the three dots (…) next to the snapshot.
- Select Promote Snapshot.
- Choose the target environment and confirm.
- (Optional) Select Include Launch Buttons to move them too.
➡️ Use this when multiple releases (like client + server) were tested together or when you want to include Launch Buttons.
DOs
DONTs
Pro Tips